
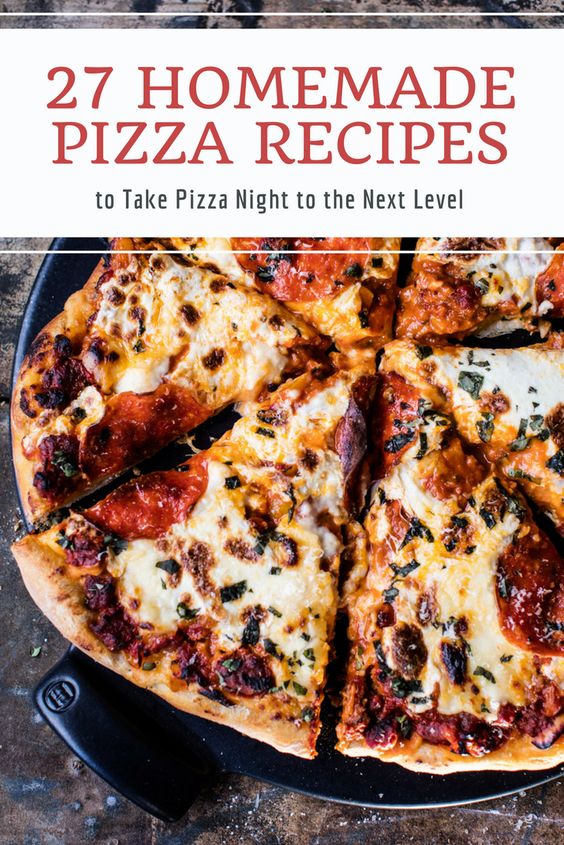
Make Pizza Shop Style Pizza At Home
Most of you know how much I love to cook, thus the nickname The Cookin Momma. I cook just about anything but I think my absolute favorites are soup and pizza. Who doesn't like pizza, right? I learned years ago how to make my own dough that FINALLY tastes just like it came from the pizza shop. Yes, I learned how to make pizza shop style pizza at home. There are two major tricks; it has to be high gluten flour and you have to let the dough ferment at least two days. I not only going to share the perfect pizza dough recipe, but I'm going to share some cooking methods too. And you can use these methods even if you purchase your dough.

The Dough
If youwant to make your own dough (which I highly recommend) then here's the recipe. If not, that's OK too; the cooking methods below will still work. You can knead the dough by hand, use a solid mixer like a kitchen aide, or even use a bread machine. I like easy, so I use the bread machine because it has a dough cycle. I plop it in there and 1 ½ hours later, it beeps and I'm good to go. This will make enough dough for two 12-inch pizzas.
1/4 - 1/2-teaspoon dry yeast
1-cup water
1-teaspoon sugar
1-teaspoon salt
1-teaspoon oil

3 to 3 ½ cups High Gluten Flour (I use King Arthur Flour Perfect Pizza Blend). The amount of flour will vary on your humidity level. The dough should be nice and stiff. Cut the dough into half, shape into 2 balls and place each one in a bowl that has been lightly covered with olive oil. Loosely cover each bowl with some plastic wrap. (I actually use a new plastic shower cap). Cover in the refrigerator and let it stay there anywhere from 2 - 10 days. After 2 days, the dough is ready to use. Tip: When you're ready to use the dough, let it sit out a good hour or so to get room temperature before you roll it out. You can roll it out ahead of time and cover with a cloth until you're ready to use it. I always do that so that I don't have to roll and clean while my guests are here. (I also get all my toppings ready ahead of time too).

Cooking Methods
Cooking It On The Grill With A Pizza Stone
I use my grill for everything and pizza is no exception. The trick to getting a nice, crunchy crust is high heat (500 degrees) and a really good pizza stone. If you're cooking it on the grill, the pizza stone should be ½ inch or thicker. I'm not a pizza master and I can use my hands, but I like to use a rolling pin because it allows me to roll the dough out evenly. When I use my hands, I always end up stretching a bit much in spots. So I roll my dough out on a pizza peel that has corn meal sprinkled on it. Don't roll it out too thin - you'll get use to how much after a couple of tries. Once I roll it out, I transfer it to a pizza screen. The reason I do this is because I never had luck sliding it off the peel even with the corn meal.

Plus all that corn meal makes a mess of your grill or oven. If you're using dough that you purchased, you can skip the steps prior to putting your dough on the pizza screen. You want to heat your grill with the pizza stone inside so it gets nice and hot. Once you've assembled your pizza (directions below), you'll want to place the screen on the hot stone and close the lid. Depending on the thickness of your pizza, you want to cook it 3-4 minutes then rotate the pizza 90 degrees, close the lid and cook it another 3-4 minutes. If your grill and stone are hot enough, your pizza should have a nice crunchy bottom and should stay stiff once you cut it. If it sags, it'll still taste good, but not be that crunchy style pizza.

Cooking It On The Grill Without A Pizza Stone
If you don't have a stone, that's OK too. You want to keep an eye on the heat on this one because every grill is different and your dough will be right above the flames. Roll your dough out by hand as described above. Lightly brush the dough with olive oil and place the oil side down, right on your grill. Keep it there until it crunches up about 3-4 minutes or so. In the mean time oil the top part of the dough. Once the bottom has crunched up, flip the dough (new oil side down, crunchy side up) and place your toppings on top. Close the lid and let the pizza cook about another 3 minutes.

Cooking It In Your Oven
For your dough, you want to follow the steps in the first method I explained, up to placing your dough on the screen. You need to have an oven that goes up to 500 degrees. Make sure your oven rack is in the middle of you oven. Place the pizza stone directly on that middle rack. Turn your oven on and pre-heat to 500 degrees. I usually wait a few minutes once the oven reaches that temperature to make sure the stone has time to also reach 500 degrees.
Assembling Your Pizza
I bet you didn't know that there's a specific order to putting pizza together, did you? I always use to put the cheese on last and it always burnt. I found out the real way to layer. Always remember, the things that cook the quickest go on the bottom. Here's a basic layering, sauce, cheese, mushrooms, onions, meat. Or, oil, cheese, roasted garlic, tomatoes. See how that goes? The heaver items keep the lighter items from burning. If you're using meat such as hamburger, meatballs, sausages, chicken, I recommend you pre-cook them a bit so that they are cooked thoroughly when the pizza is done. Also, make sure you have all your toppings cut up; pre-cooked and ready to go when you're ready to assemble your pizza. Don't try putting the sauce on then cutting the toppings or your dough will get soggy. Prepare everything ahead of time.

Toppings
I like to have fun with the toppings. The year I finally got the dough right, my husband asked for pizza every night. I said "aren't you sick of pizza?" He said, "no because you make it totally different every night." The other nice thing is you can control the type and amount of toppings you put on, thus controlling your fat and calorie intake.
الإبتساماتإخفاء